



Face steaming is one skincare routine I can swear by. I don’t remember when I first started but I’ve been doing it for years now, and all I can say is skincare with face steaming is better than skincare without it.
The entire idea of face steaming is to open up the pores of the facial skin, so that every dirt and oil secreted by the sebaceous gland of your skin, that is blocking your pores can be gotten rid of. This makes it easier for your skin to absorb all your skincare product, so it’s more effective and for your skin to look better.
As a bonus, it is affordable and easy to do. You don’t necessarily need to visit a spa to get your face steamed, you can DIY at home. I mean, face steaming is simply allowing steam from something hot to make contact with your face for a couple of minutes. Whichever way you do it is really up to you.
Whether you:
- Bend your head over a bowl of hot water
- Press a hot towel to your face
- Use a facial steamer
…the goal is to allow contact between your face and the steam.
Face steaming makes it easier for your skin to absorb all your skincare product, so it’s more effective and for your skin to look better.
Rules to Face Steaming: What to Do Before and After
When I first started, knowing what to do before and after steaming my face was the only tricky thing. “Should I scrub now or later? Should I shave my face before or after?” were the type of things I thought about constantly till I learned that I only needed to hydrate, cleanse, then steam.
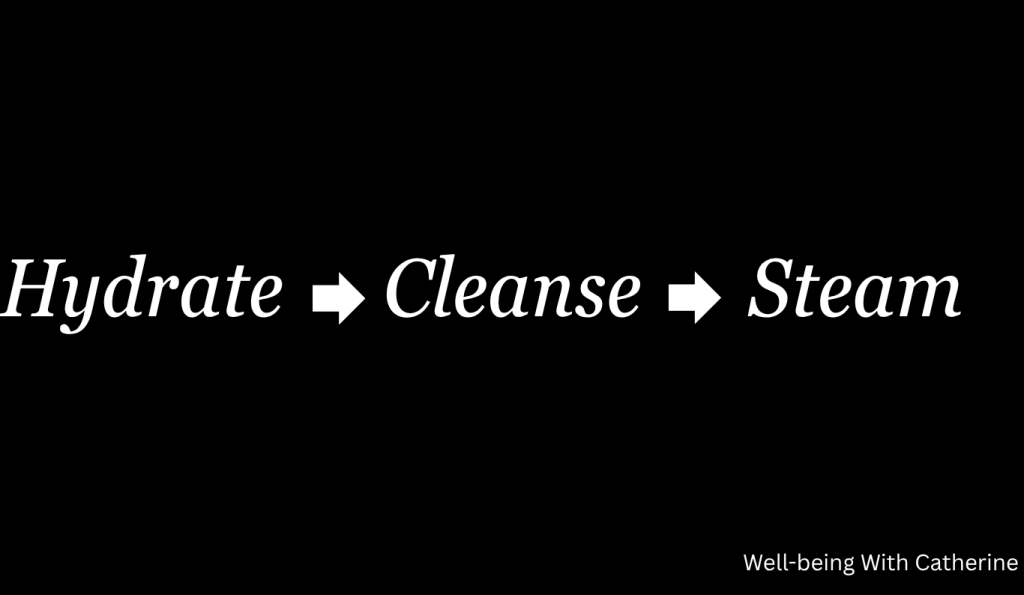
Hydrate
I always make sure to drink at least 50cl of water before I begin steaming my face because when steam makes contact with my face, it’s not just vapour that rests on the face, there’s also sweat.
Removing body moisture in the heat of steaming makes it easier to get rid of oil and dirt blocking the pores. But that shouldn’t be at the risk of being dehydrated.
Cleanse
No good comes from doing something new on a dirty surface, so I always wash my face first before steaming. Not only does this help to remove the excess oil and dirt that are just resting on my face, it will also stop them from penetrating deeper into my pores when I start steaming.
For cleansing, I use the Fresh Glow Milk & Papaya Moisturizing Soap. You can use any mild cleanser of your choice, but some other great options are: La Roach Posay Mela B3 Facial Gel Cleanser, Tea Tree Cleansing Foaming Face Wash, and Dove Beauty Bar Soap.
Steam
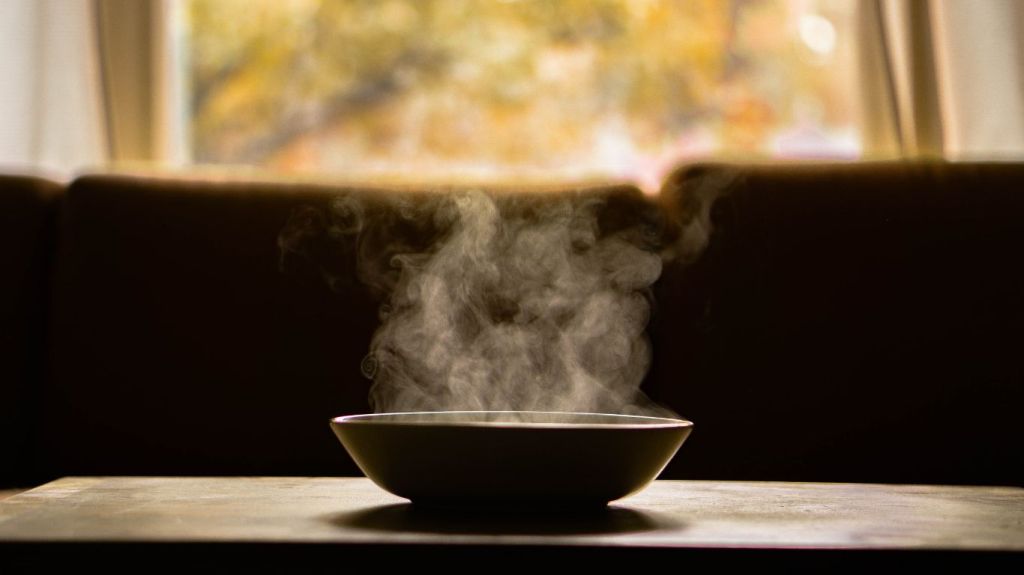
Now I’m ready to start steaming. I set my timer for 10 -15 minutes, nothing longer than that or I’d risk getting burned by the steam. You’d want to remember to keep your face at least 8 inches away from the bowl of hot water or steamer to prevent burn.
After Face Steaming: The after of face steaming is as important as the before because by unclogging all the pores the skin becomes more sensitive, and anything can easily penetrate that will either improve the skin or harm it. That is why my after face steaming treatment follows this pattern:

Wash My Face
A splash of clean cold water on my face is all I need to get rid of all the sweat, oil and dirt that were unclogged from my pores during steaming. They should not be allowed to sit on the face for long or they would just clog back the pores.
Plus, cold water is good, to normalize facial temperature after sitting for so long with the heat of the steam.
Use a Face Mask
I prefer to use a sheet mask, like the Dr. Rashel Vitamin C Brightening & Illuminating sheet mask, to hydrate and trap more moisture into my skin, but you can always go for a clay mask or peel mask. The difference is, while the sheet mask hydrates, clay or peel masks will draw out more dirt from your pores, which makes them better options if you have time on your hands, if not, using a sheet mask is alright.
Time to Tone
The next step is to tone my face with a face toner so that my pores can close back up now that I’m done cleaning them. Some good toners to use are: Paula’s Choice Skin Balancing Toner, Simple Soothing Facial Toner and Skin Doctor Natural Witch Hazel Face Toner.
Continue with Normal Skincare Routine
After all that is done, my face is now ready to continue with my normal routine of using a serum and moisturizing cream. Depending on the nature of your skin, you can use a hydrating serum like the Dr. Rashel Vitamin C Face Serum, which is what I use, or a brightening serum like Byoma Brightening Serum.
Warning: Stay Away from Face Steaming If…
I know steaming the face sounds fun, and you’d want to start doing it instantly to get a better looking skin, but you need to be mindful that face steaming isn’t for everyone.
The process exposes your skin to hot temperature, which will only do more harm to people with skin conditions like rosacea, eczema and psoriasis.
If you’re not sure if you have any of these conditions or any other inflammatory skin condition that will make face steaming inconvenient for you, I advise you consult with a dermatologist to be on the safe side.
Final Take
As easy as face steaming is, if you don’t take care to learn the before and after steps, you could get it all wrong and end up doing harm to your face instead of improving it. I know I was doing it all wrong myself when I first started. But with this guide you will be alright steaming your face yourself without going to a spa or harming your skin.
You May Also Like:
Every Woman Should Practice Yoga for These Benefits
Follow on:


Leave a comment